

We’ve noticed that some users are struggling to package Answer plugins. It might be frustrating since the doc using plugins doesn’t contain successful packaging examples.
In this blog, we’ll guide you through the process of packing your Answer plugin with step-by-step tutorial.
Getting Started
To get started, please make sure you have a development environment set up with the following: Node.js, pnpm, Docker, Go etc. Don’t forget to check the official documentation for development guide.
Notice
Skip this section if you’re using the latest code.
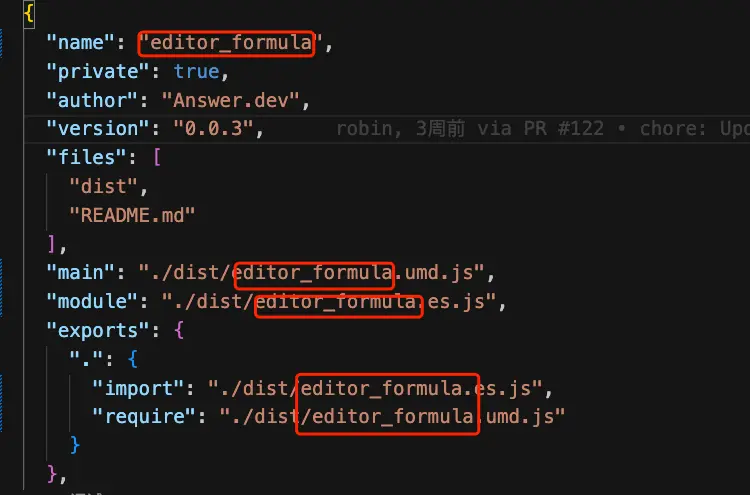
In Answer 1.3.5, the plugin build process and some plugin commands have been adjusted. If you are using code from before 1.3.5, you need to change the basic information of some internal plugins. The plugins involved are:
- editor-chart
- editor-formula
- embed-basic (only available 1.3.5 and later)
Find the commit ID for the plugin you need to update. In its package.json files, the hyphens (-) in the plugin name with underscores (_). For instance:
I. Build Docker Images with Plugins
There’re two ways to build Docker images with plugins:
- Answer Base Image
- Local Code
Build from Answer Base Image
If there’s no need to modify Answer’s source code, you can build directly from official base images. Please check our docs on building with plugin from answer base image.
Build Docker Images From Local Code
Please keep local code up-to-date. The steps are as below:
- Add Pluins:Edit
/script/plugin_list(root directory) and add plugin repository URLs (one per line). - Build Docker Image:Run command:
docker build -t <image_name[:tag]> .. - Launch and Verify:Wait for build to finish, then run
docker run -d -p 9080:80 -v answer-data:/data --name <container_name> <image_name>, then verify plugins in Answer 。
1.Add Required Plugins
github.com/apache/incubator-answer-plugins/connector-basic@latest
github.com/apache/incubator-answer-plugins/reviewer-basic@latest
github.com/apache/incubator-answer-plugins/captcha-basic@latest
github.com/apache/incubator-answer-plugins/editor-formula@latest
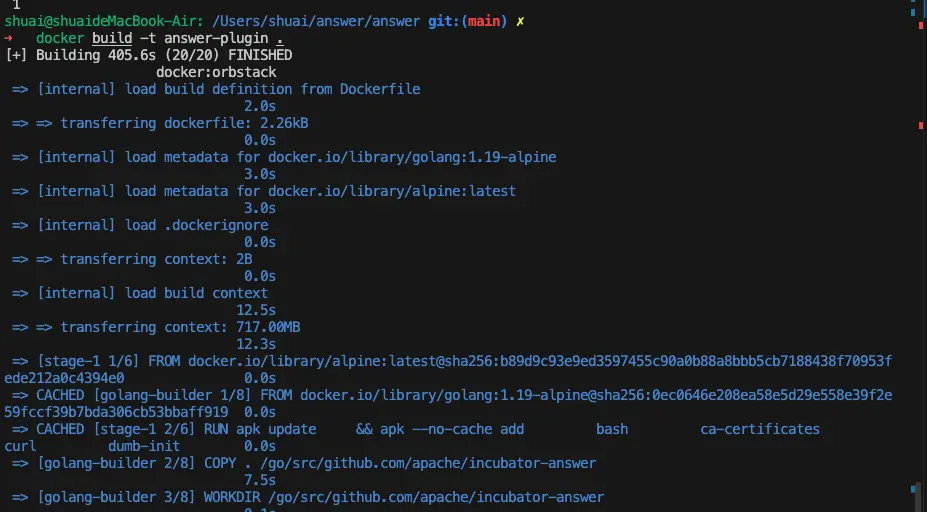
2.Build Docker Image
The build process may take some time.
3.Local Start up and Verification
Run the following command to start locally and follow the documentation to complete initialization.
docker run -d -p 9080:80 -v answer-data:/data --name answer101 answer-plugin
After initialization, log in to the admin panel and see if the plugin runs correctly.
Admin Panel

Activate the Plugin
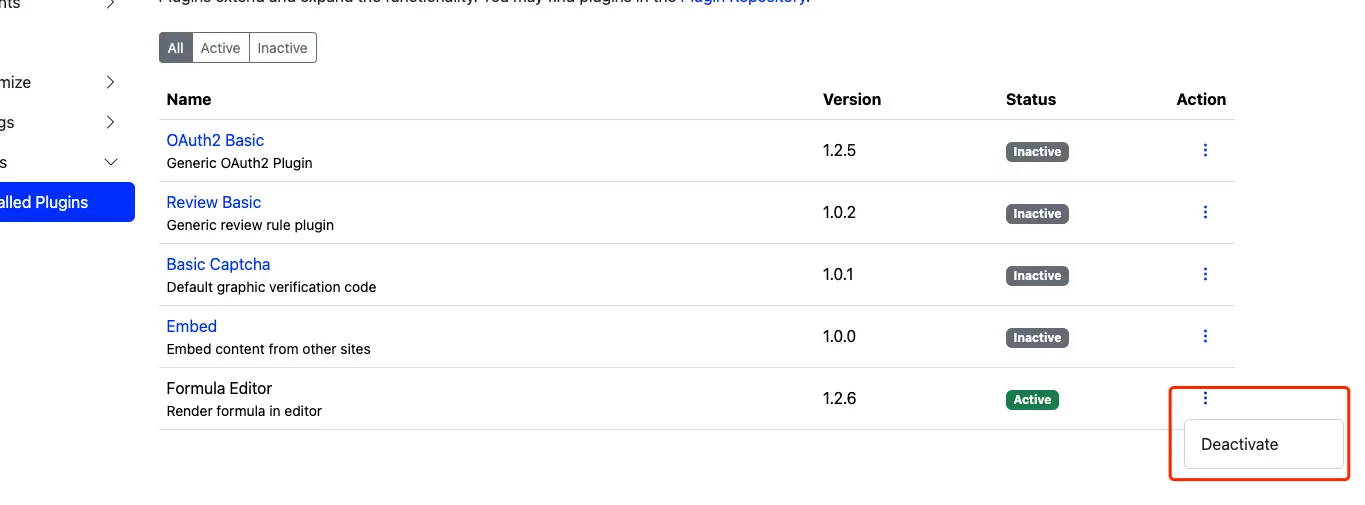
Verify Plugin(editor-formula) Functionality:
II. Build a Binary with Plugins
Here, we will walk you through the process of building an Apache Answer binary that includes specific plugins. The process involves building the base binary, incorporating the required plugins, locally verifying the plugins, and finally deploying the binary.
Steps
- Build Base Binary
- Build Plugin Binary
- Verify
- Deploy
1.Build Base Binary
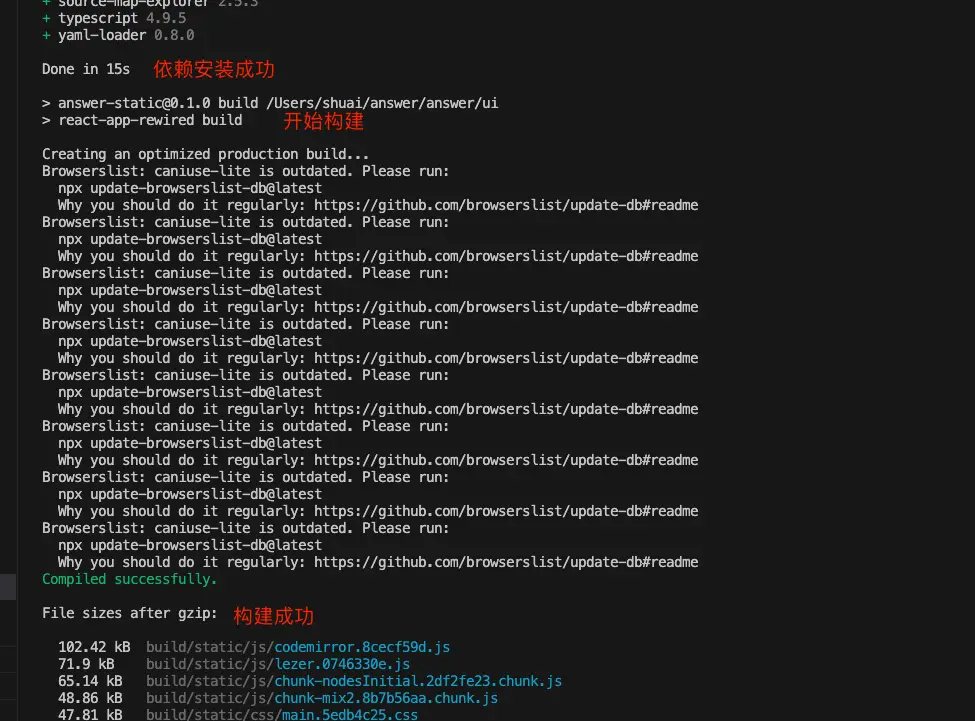
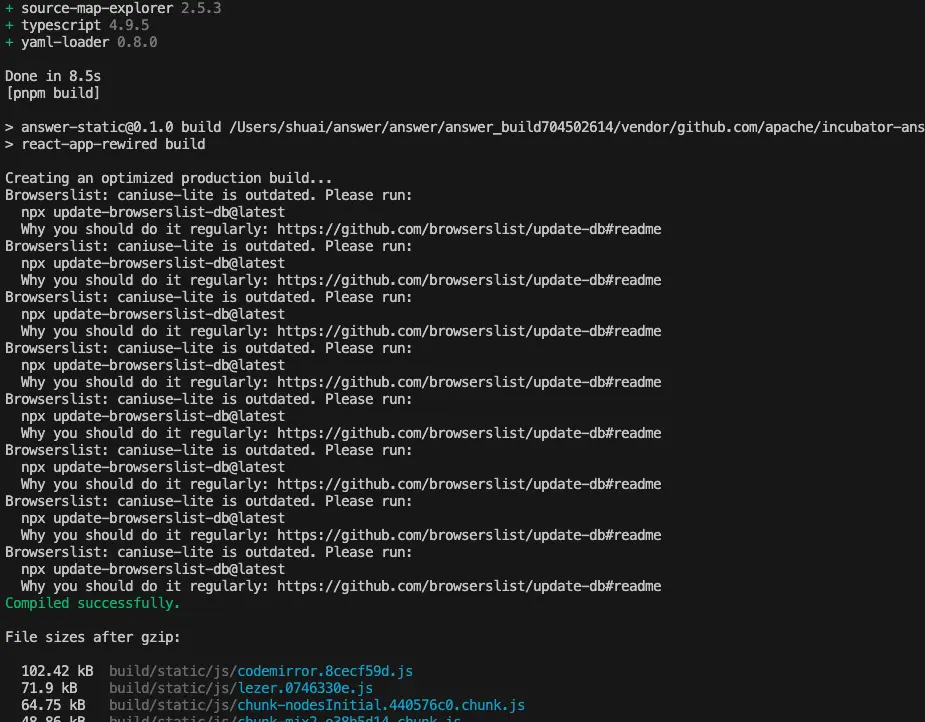
Start with building the front-end static resources using the command make ui.
Output:
- Installing Dependencies
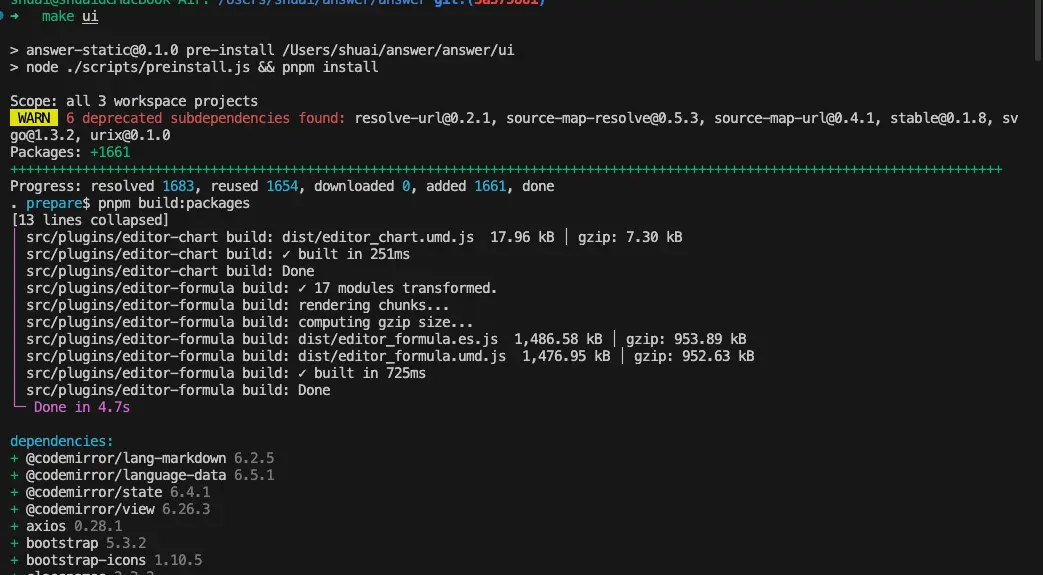
- Dependency InstallationBuilding Static Resources after Dependency Installation
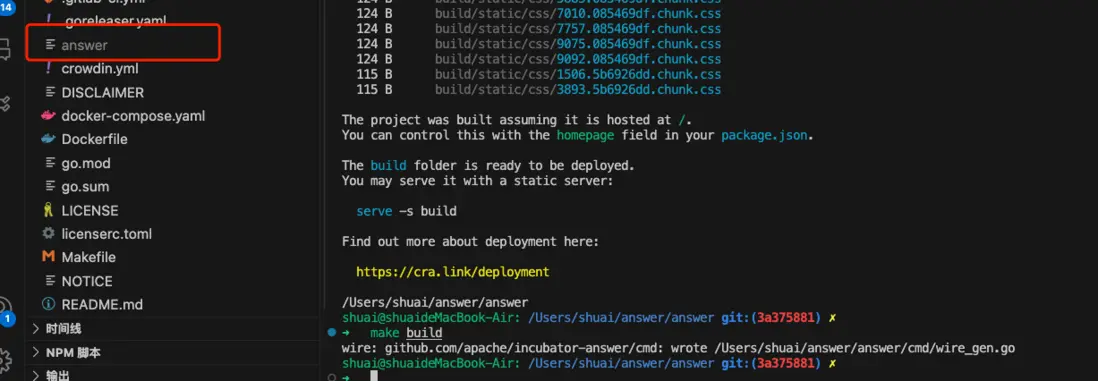
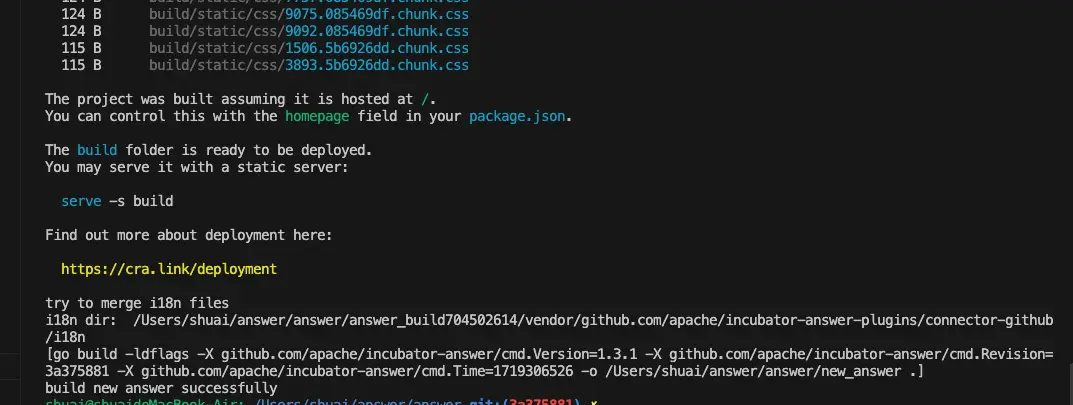
To build the base binary, run make build. If the build is successful, the answer binary will be generated in the project root directory.
If you encounter errors related to Go dependency installation, you can try running go mod download locally to see if the installation is successful. If it still fails, consider configuring a domestic mirror: https://goproxy.cn/ or enabling a network proxy.
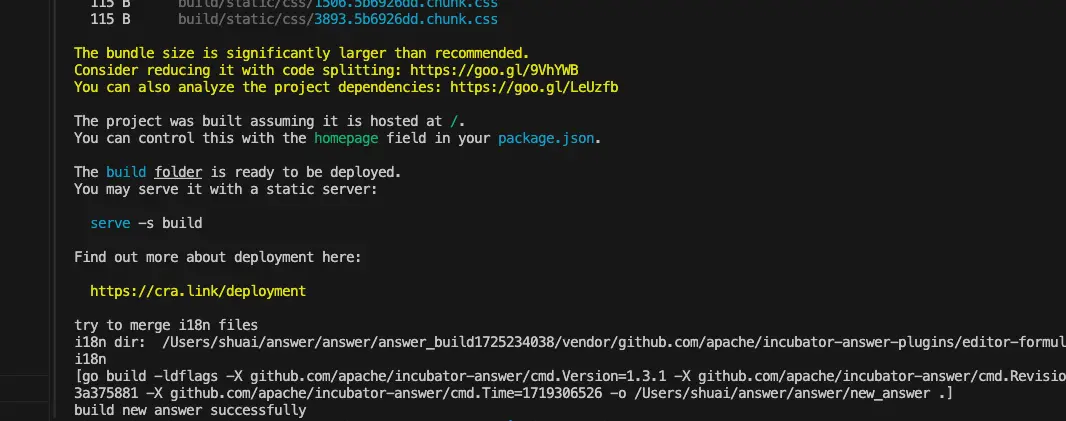
Success:
2.Build a Binary File with the Required Plugins Using the Base Binary File
Please view Answer plugin docs.
# answer build --with [plugin@plugin_version=[replacement]] --output [file]
$ ./answer build --with github.com/apache/incubator-answer-plugins/connector-github
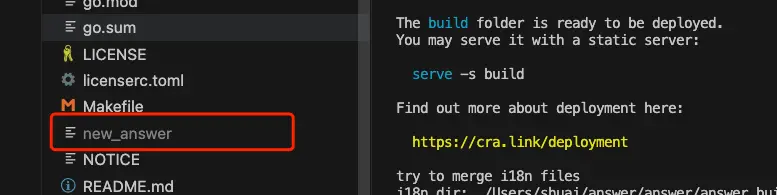
# build a new answer with github login plugin then output to ./new_answer.
$ ./answer build --with github.com/apache/incubator-answer-plugins/[email protected] --output ./new_answer
# with multiple plugins
$ ./answer build
--with github.com/apache/incubator-answer-plugins/connector-github
--with github.com/apache/incubator-answer-plugins/connector-google
# with local plugins
$ ./answer build --with github.com/apache/incubator-answer-plugins/[email protected]=/my-local-space
# cross compilation. Build a linux-amd64 binary in macos
$ CGO_ENABLED=0 GOOS=linux GOARCH=amd64 ./answer build --with github.com/apache/incubator-answer-plugins/connector-github
# specify the answer version using ANSWER_MODULE environment variable
$ ANSWER_MODULE=github.com/apache/[email protected] ./answer build --with github.com/apache/incubator-answer-plugins/connector-github
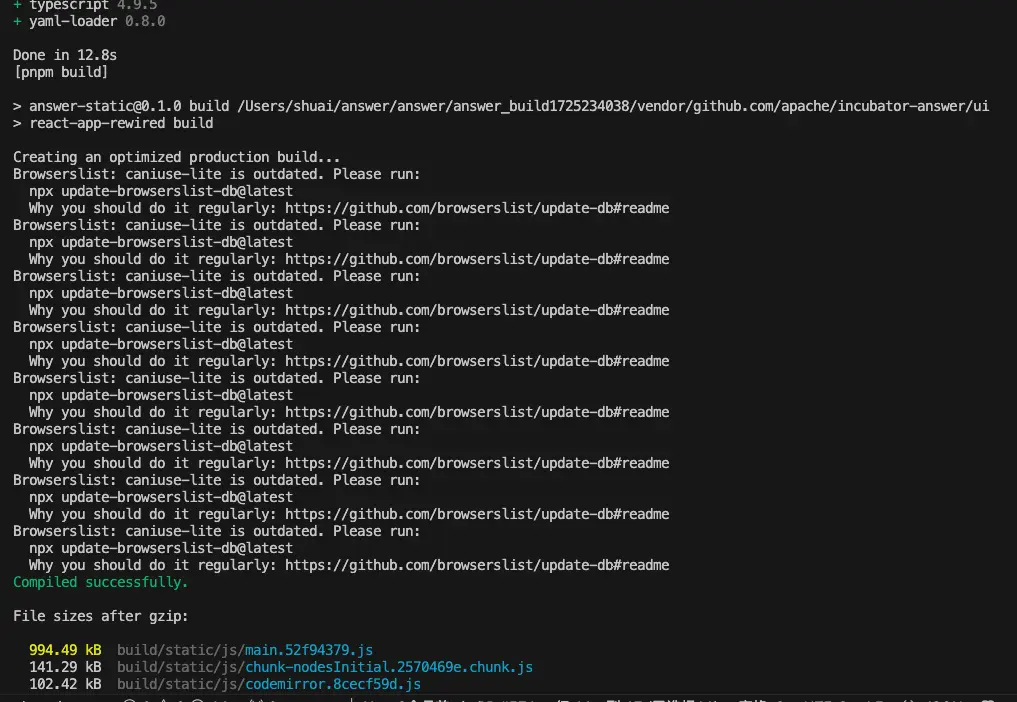
可以根据文档上的提示来选择所需要的插件,打包插件的会重新构建前端静态资源,插件可能有特有的依赖项,所以这里会重新执行依赖安装跟构建。构建成功后会在更目录生成 new_answer 二进制文件。
You can choose the required plugins according to the instructions in the documentation. Compiling plugins will rebuild the front-end static resources. Plugins may have special dependencies, so dependency installation and compilation will be performed again here. After successful compilation, the new_answer binary file will be generated in the dist directory.
Example:
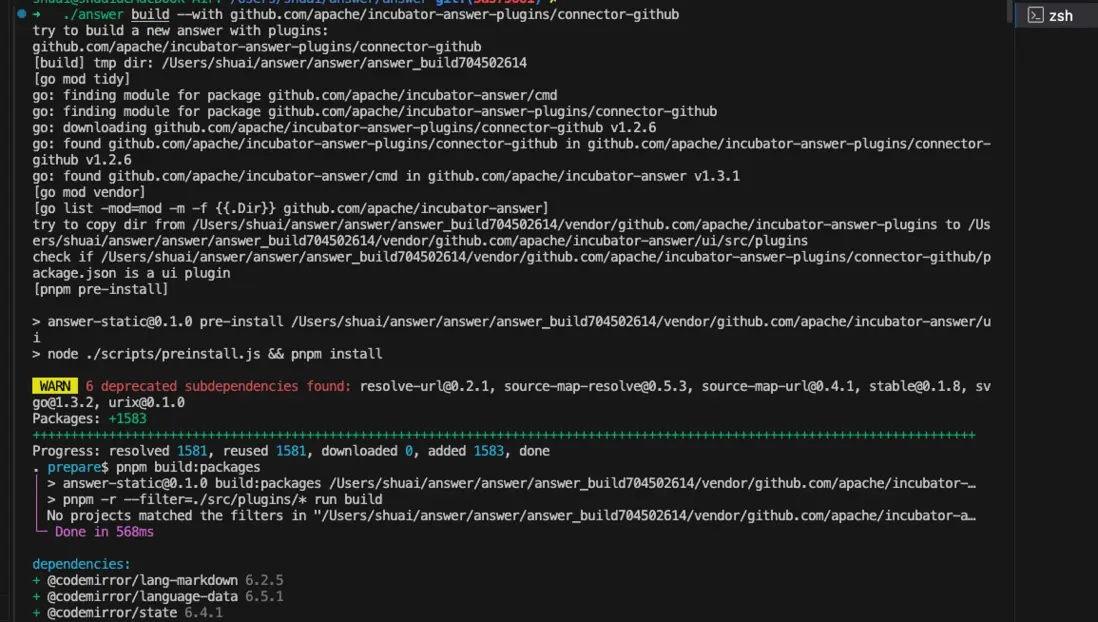
2.1.Build Single Plugin
./answer build --with github.com/apache/incubator-answer-plugins/connector-github
Effect:
Verify plugin installation command: ./new_answer plugin.
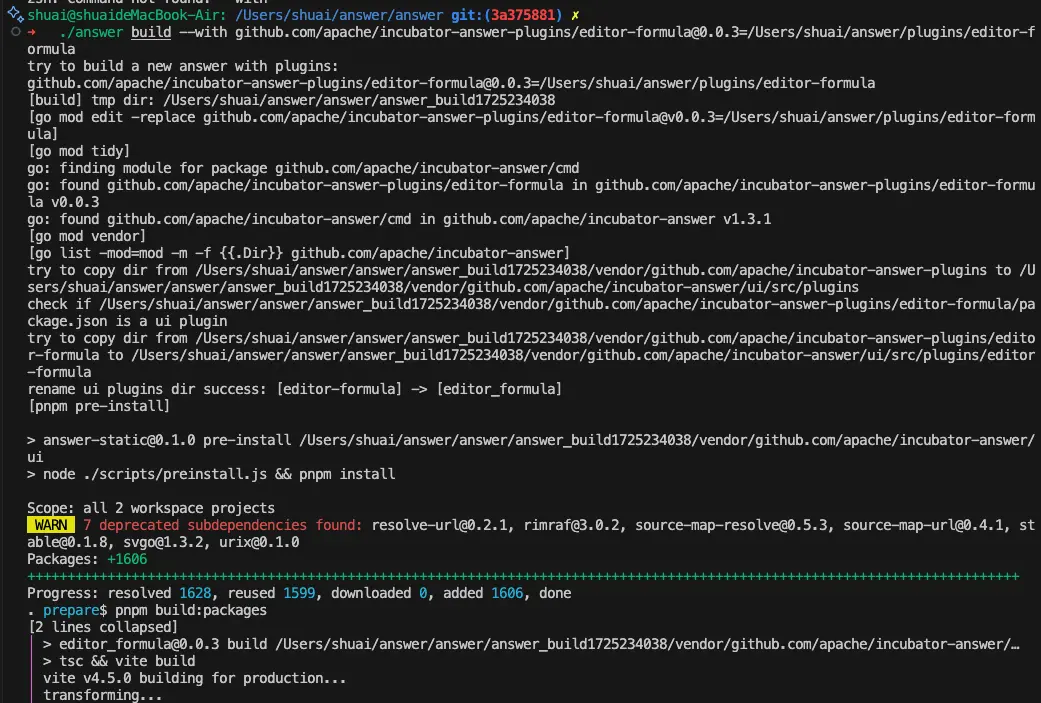
2.2.Build Single Plugin Using Local Plugin Code
如果需要调整插件的一些信息或者使用自己实现的私有插件来构建,需要使用 with local plugins 命令来构建,比如上面提到的 editor-formula 插件,并且使用的 Answer 代码版本是小于 1.3.5 的,所以需要调整插件的一些信息,这种情况就需要使用该命令来完成构建。
If you need to modify some plugin information or build a plugin using your own private implementation, you need to use the command with local plugins. For example, the editor-formula plugin mentioned above is compatible with Answer versions below 1.3.5, so you need to modify some plugin information. In this case, you can use the following command to build the plugin:
./answer build --with github.com/apache/incubator-answer-plugins/[email protected]=/Users/shuai/answer/plugins/editor-formula
Output:
Verify plugin installation command: ./new_answer plugin.
2.3.Build Multiple Plugins
The process for building multiple plugins is similar to building a single plugin. Please kindly refer to building single plugin and try it yourself.
3.Verify Plugins Locally
使用命令行验证只是确保插件已经打进去了,想要查看插件是否能正常运行,可以本地运行生成的二进制文件进行查看,二进制运行文档
 , 按照文档步骤初始化完信息。注意这里需要运行的是 new_answer 二进制,所以命令行中的 ./answer 需要使用 ./new_answer
Using the command line only ensures that the plugins have been installed. To check if the plugins are running correctly, you can run the generated binary file locally. Please refer to the installation documentation for instructions on initializing the information.
Please pay attention that you need to run the new_answer binary, so replace ./answer with ./new_answer in the command line.
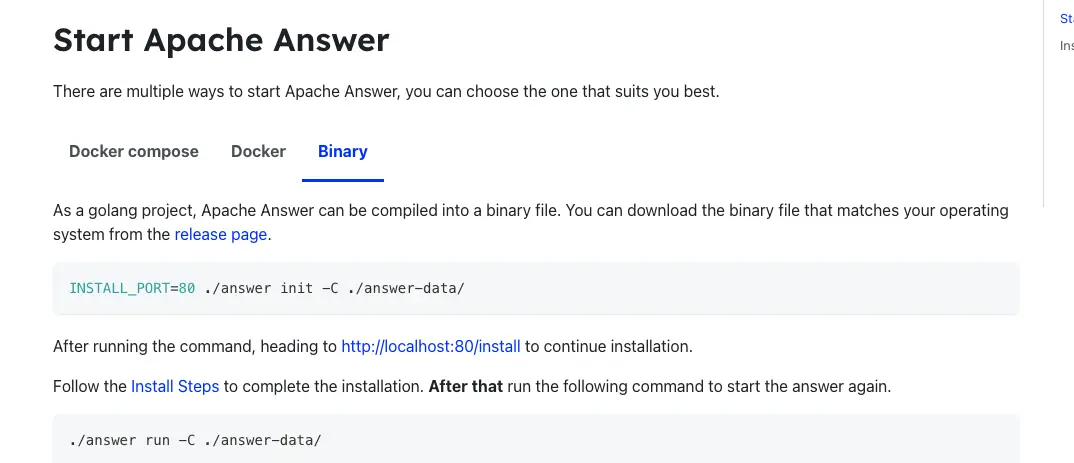
4.Steps for Local Verification
- Initialization Complete
For example:INSTALL_PORT=80 ./new_answer init -C ./answer-data

Access http://localhost:80/install/ and follow the instructions to complete the initialization process.
-
Update Information
Run the command./new_answer upgrade -C ./answer-data/ -
Start the Local Website
Run./new_answer run -C ./answer-data/, accesshttp://localhost/. Log in and gohttp://localhost/adminto activate and verify the plugin.
Here’s an example of editor-formula plugin.
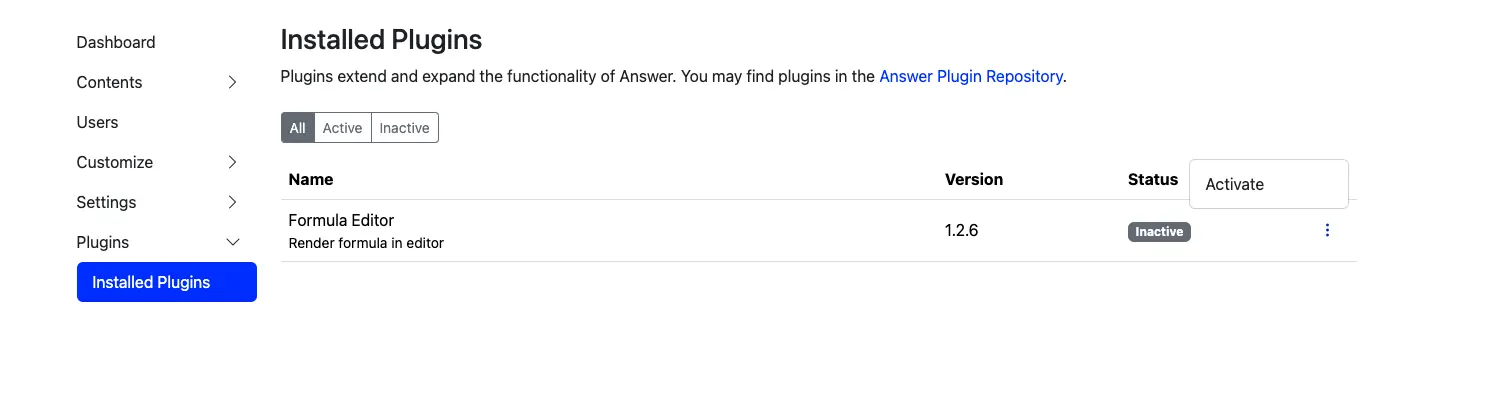
At this point, you can make sure that the plugin has been built correctly and running.
5.Deploy the Binary
If your website is deployed using a binary, you can now deploy the generated binary file. If you need to adapt to different platforms, you can use the cross-compilation commands in the documentation to build the binary file.